Showing posts with label Platinum. Show all posts

Saturday, 13 October 2018

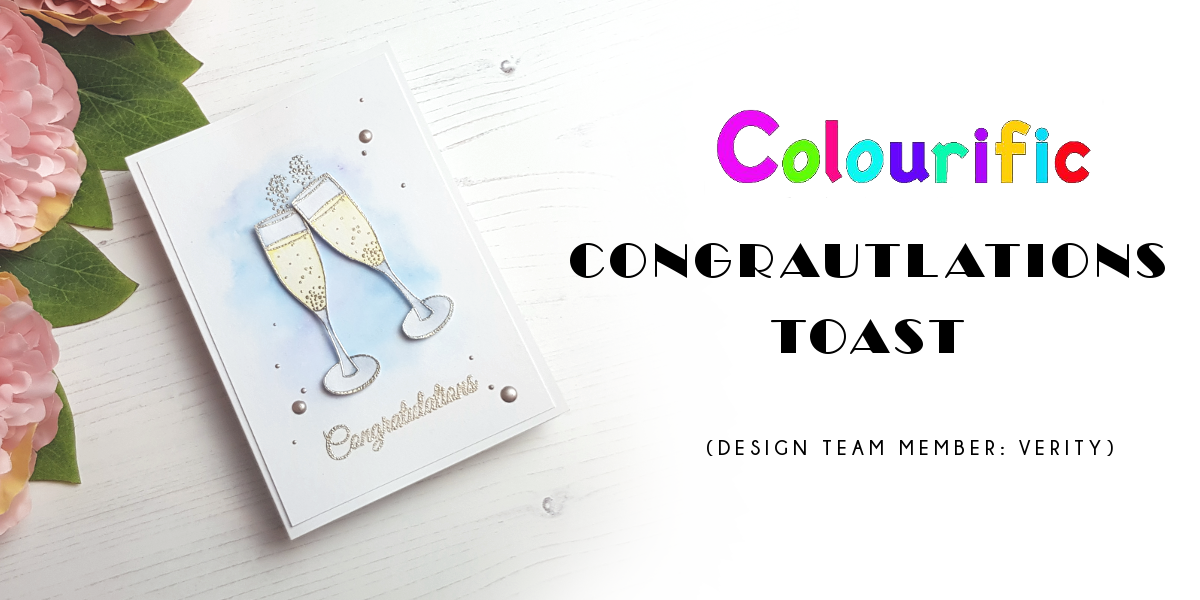
Congratulations Toast - Design Team Member: Verity


Hello! So good to be here. It's Verity here from Pretty Little Button with another card for you today. This card was one of the first cards I made when I received the lovely stamps from Colourific. However, I am only just getting around to showing you it today. This card is very easy to make and the stamps from Colourific do all the talking on this card!


Congratulations Toast card details:

To start, heat emboss in platinum embossing powder two champagne glasses onto white card. These were coloured in with watercolour paints, but I did not use watercolour paper. The amount of water used was very small so I was able to get away with just using the regular white card. Watercolour paper isn't a true white, which I wanted for the card, so this I why I did not use watercolour paper. If you prefer to, you can do this just as well with watercolour paper. 

Handmade congratulations toast card made by Verity Biddlecombe

I only used a couple of colours for this card, using a blue-grey for the glass and a light yellow for the liquid. I didn't do any fancy shading and wanted to keep it simple. These were fussy-cut out once dry.


For the background, I added clear water to a white card panel and dropped in a selection of blues allowing them to blend on their own. I did not add the colours close to the edge of the water on the card in order to get a soft fadeout.

The panel was adhered to a white card base and the glasses foam mounted on top. There is a little 'bubbles/fizz' stamp in the stamp set which I heat embossed directly onto the card panel above the glasses, along with a sentiment beneath. 


The card was finished with a few platinum Nuvo drops as embellishments. 


I hope you love today's card and don't forget to check out the stamp set, link below. If you loved this card please leave a comment below as we would love to hear from you. 


Until next time!

Verity


Pretty Little Button Blog | Instagram | Facebook | Youtube


Saturday, 22 September 2018

Autumnal Thanks - Design Team Member: Verity


Hello! So good to be here. It's Verity here from Pretty Little Button with another card for you today. This card features stamps from the A6 Leaves clear stamp set from Colourific. This stamp set has a variety of leaves of different sizes and either as the outline or the bold full stamp. I used this stamp today with a masking and emboss resist technique to create a beautiful decorative panel. 


Autumnal Thanks card details:


To start, mask off an area for stamping - this area will be where we add colour later on. Now for this card, I used a stamping platform as I wanted to emboss the leaves where the colour was, and only stamp the leaves outside the colour in a simple ink - this area was not embossed.

Thank you autumnal card handmade by Verity Biddlecombe

Before inking, I prepped the area with an embossing buddy. The stamps were inked with versamark ink and covered in Pure Platinum embossing powder and heat set. Before moving the leaves to stamp in another area, I positioned the panel back into my stamping platform and covered the embossed area with masking tape. I removed the masking that I had originally put down to mask off the coloured area. 


With the stamps still in the same original position prior to embossing, I inked the stamps up with dark grey ink and stamped onto the card panel. I removed the masking paper to reveal continuous stamping between the embossing and the ink.  


I repeated this process of inking and embossing until I had a strip complete. To add the colour. I positioned the masking taped back onto the card cover the ink parts of the stamp and leaving over the embossing exposed. Using a blending tool and distress oxides (Fossilized amber, spiced marmalade and candied apple), I created a gradient embossed resist background. Once you have finished ink blending, removed the tape and buff the embossing with a dry paper towel. This will remove any excess ink left on top of the embossing. 


To finish the card, I added a layered 'Thanks' die cut from my stash and embellished with some colour corresponding sequins. The card panel was foam mounted onto an A6 (UK size) black card with a 1/8" border. 


I hope you love today's card and don't forget to check out the stamp set, link below. If you loved this card please leave a comment below as we would love to hear from you. 


Until next time!

Verity


Pretty Little Button Blog | Instagram | Facebook | Youtube

Love Life

Good Morning Monday again.  The weather here has been awful, rain, hail, snow, and sunshine all in the one day! Too wet and cold to go out...