Showing posts with label gelpens. Show all posts

Thursday, 17 October 2019

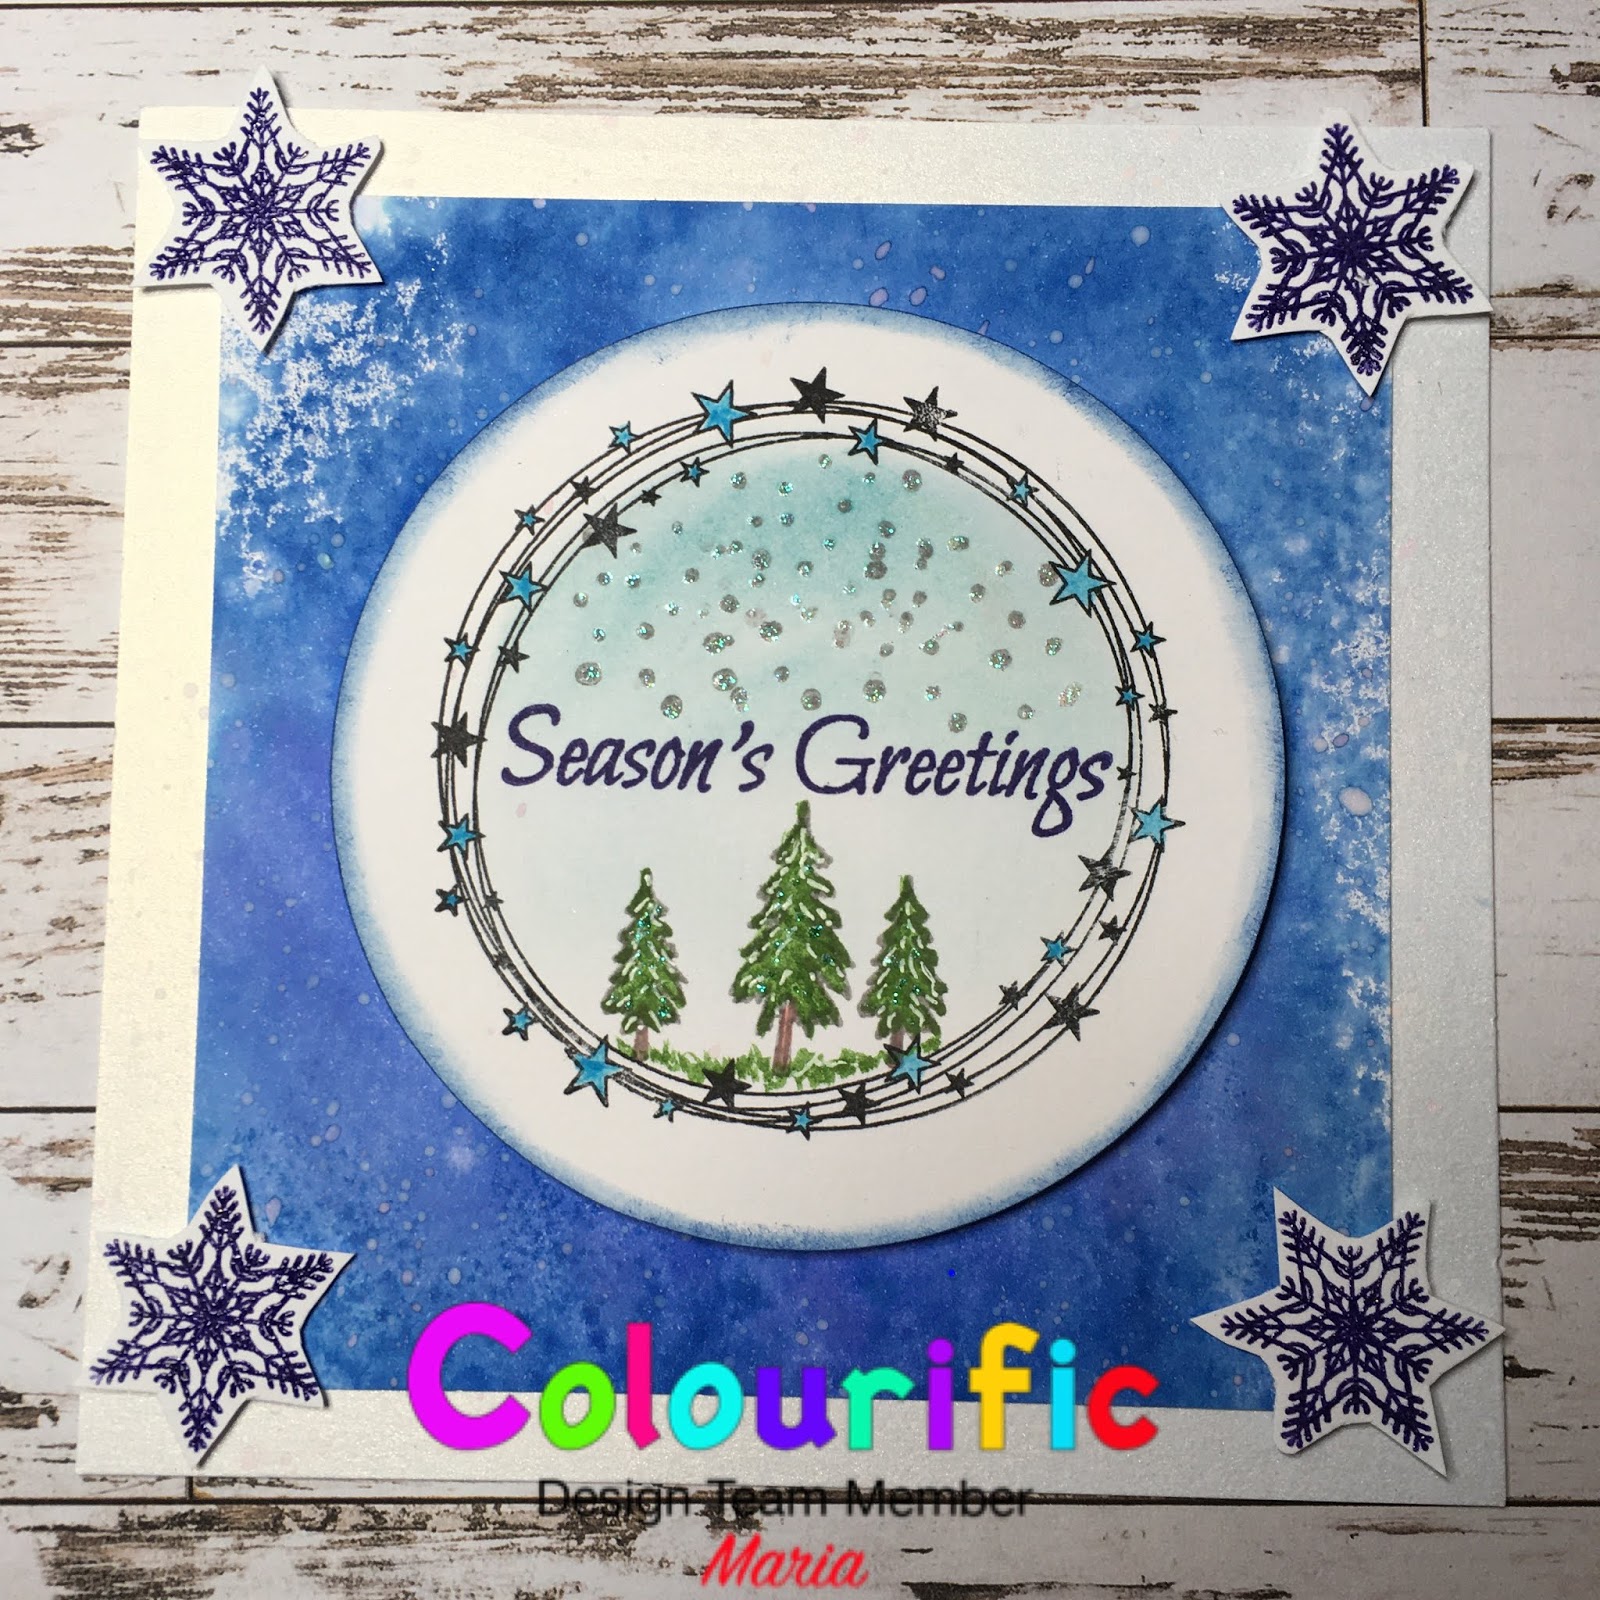
Winter Scene in a Ring

Here’s another card showing you one of the new stamp sets from Colourific.

Here’s what you will need:
A5 Rings stamp set
Winter Wonderland Stamp Set
Distress Inks - any blue - I used Salty Ocean
Watercolour paints or pencils
Clear Embossing Powder
Versafine Onyx Black
Versafine Clare blue
White and blue Gel Pens
Iridescent Glitter Glue
3D Foam pads
6x6” card base
Stamping card
Die cutter - circles or punch

Here’s how I made it;

  1. Cut a piece of 5x5” stamping card.  Stamp the Distress ink onto a blending mat and spritz with water, swish the card through the ink and dry.
  2. On a separate piece of card, stamp the stars ring in black Versafine.  Cut out a circle around this stamp - I used a die cutter or thus or you could use a punch. 
  3. Stamp two small trees, one medium tree and seasons greetings in the circle and colour with watercolour paints or pencils. Add a blue wash for the sky and draw in some grass under the trees.
  4. Stamp some of the small dots for snow and glitter the top of the dots.
  5. Stamp and emboss 4 snowflakes onto a separate piece of card and cut out.
  6. With the white gel pen, colour in some snow on the trees and with the blue gel pen colour in the stars of the ring.
  7. Mat the blue inked background onto the card base and adhere the circle to the middle of the card using 3D Foam pads.
  8. Add the snowflakes to the corners of the blue background using 3D Foam Pads.
Hope you enjoy making this card - the rings are very versatile and can be used as a frame for lots of small stamps and dies.


Wednesday, 4 September 2019

Marleen DT - Girls night out..


Hello Bloggers
and welcome

Its once again my turn to share some inspiration using the fantastic stamps from
 Colourific. 
 You can find the stamps I've used and all the other fantastic stamps in the
STORE. For todays post me and my little girl had a play session together.
We both used the A5 - Girls Night Out stamp set.


Sticking to what I do best, both Abbie and I simply stamped, coloured and added a sentiment.
I stamped using distress oxide and Abbie stamped with black ink and coloured with gel pens. We both finished with a die cut greeting and a few gems.
And that is it from me for today.
Thank you for popping by and for any comments left behind.
Don't forget to come visit me on FaceBook, Twitter, Instagram, Pinterest, Youtube or my FB page.
 Happy Crafting


Wednesday, 14 August 2019

Im late, Im late.. for a very important date..

Hey everyone
And welcome..

My apologies, I'm late with today's post.. I had it all planned and yet it totally slipped my mind..
But hopefully better late than never.

I'm very excited for this post as it wasn't just me crafting. Me and my youngest daughter had a play together with her favourite Colourfic stamp. Abbie is 9 so I guess its no surprise that the unicorn is her favourite lol..

We both used the A6-flying unicorn set and I also used the A6-unicorn text set as well as the A6-Tiny hearts background stamp.

You can fins all the stamps in the STORE.


Abbie simply stamped and coloured hers with gel pens.
Me, I stamped my unicorn on to watercolour card stock and used distress ink (well watered down) to colour. My background is stamped and heat embossed with a iridescent powder. I then simply layered my background onto the card blank, stamped my greeting and finished with a few gems..

And that is it from me for today.
Thank you for popping by and for any comments left behind.
Don't forget to come visit me on FaceBook, Twitter, Instagram, Pinterest, Youtube or my FB page.
 Happy Crafting


Love Life

Good Morning Monday again.  The weather here has been awful, rain, hail, snow, and sunshine all in the one day! Too wet and cold to go out...