Showing posts with label grunge background. Show all posts

Wednesday, 18 September 2019

Marleen DT - Mixed Media card

Hello Bloggers
and welcome
Its once again wednesday and my turn to share some  inspiration using the amazing stamps from Colourific.  Ive used a selection of stamps for the mixed media card Ive made for today. You can find them all in the STORE.


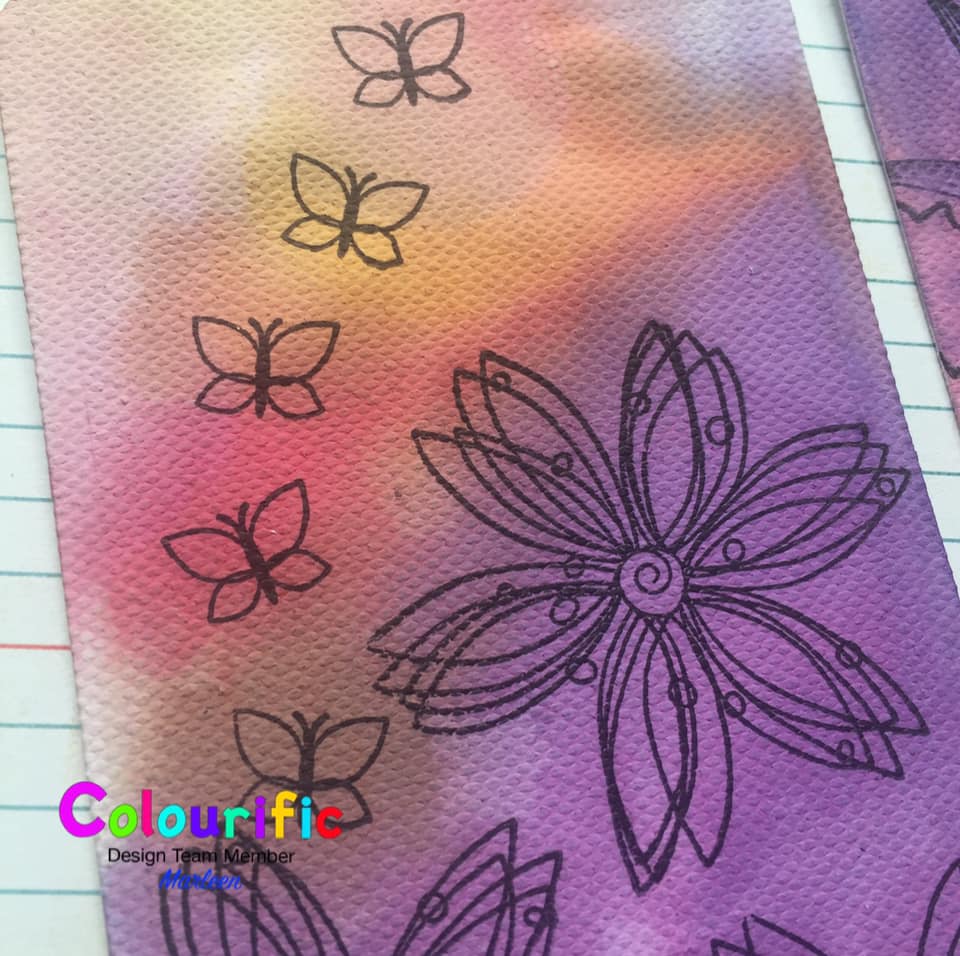
I started by adding distress ink to my background. I used water colour card stock to make sure it could take enough water to make the colours blend.

I used Archival black ink to stamp strait onto my background. I used the A6 Borders and Stems and the A6 Grunge background.

I stamped the butterfly and the sentiment from the A5 Butterflies take flight set on to scrap watercolour card stock and also used distress ink to colour, but this time i used a homemade silver mist spray as my water. This has given the sentiment and the butterfly a bit of sparkle.

I cut out the butterfly and added to my card base usong foam tape.
The sentimet I cut into single words and added scattered around the card.

This is such an easy way to make a mixed media look to a card and can be done using any stamps you have in your stash.

And that is all from me for today.
Thank you for popping by and for any comments left behind.
Don't forget to come visit me on FaceBook, Twitter, Instagram, Pinterest, Youtube or my FB page.
 Happy Crafting

Wednesday, 21 August 2019

Marleen DT - A bottle of love

Hello Bloggers
and welcome to my blog

Todays post is another tag. Im really enjoy crafting on tags and they can be used for so many things.
As per usual, I have used a selection of stamps from Colourific and you can find them all in the STORE.

The specific one I used for this tag is:
A6 - Grunge Background
A6 - Borders & Stems

A5 - Champagne & Cocktails


I used a tag cut from canvas paper, I really like working on this surface due to the way it takes the ink but also for the texture. I started by stamping my bottle with Archival (waterprrof) ink.

I then used Distress Stains and water to create my background. If you have ever used Distress products you will know that once you add water, the ink has a mind of its own lol, so there is no way to ever recreate a background fully.

Once I liked my background I stamped the details with Distress Oxide Inks.
I kept my stamp on the backing card as I stamped. Added a bit of ink and simply rolled the stamp over the corner of my tag. I find that not using a stamp block give a softer egde to the stamping.

I then took a bit of distress ink and coloured my bottle. It was already green from the background ink but I wanted it to pop a little bit.

To finish, I stamped the little details of the bottle on to scrap card and coloured with gold Distress Stain and oce dry, fuzzy cut and glued on top of the bottle. I added a few gems and Voila.. all done.

Oh before I go.. I just wanna mention our FaceBook group. Colourific now has a group for anyone who is interested in the products. There is a competition over there and the Desgin Team shares their projects every day. And we would love to see your Colourific creations too. Come and join us.


And that is it from me for today.
Thank you for popping by and for any comments left behind.
Don't forget to come visit me on FaceBook, Twitter, Instagram, Pinterest, Youtube or my FB page.
 Happy Crafting


Wednesday, 31 July 2019

Book marks - Marleen DT

Hi everyone
and welcome

My house is full of book worms. I have always been an avid reader myself but now I have 3 children who are all book worms too. Its currently summer holliday here in Ireland and should you by any chance take a walk through our house, you will find at least 2 people reading at any time of the day lol.. Anyway.. Many books on the go, means many book marks are needed. I always try to have a few extra lying but had run out so for todays post I decided to make a few.

So for todays project for  Colourific
I pulled out some tags and my stamps and got started..

For the boy tags I used:
A6 - grunge background
A6 - Alphabet & Numbers


And for the girls tags I used:
A6 - Moderne Flowers
A5 - Peonies

Find them in the STORE along with all the other amazing stamps.


***


All the tags were made the same way.
I used tags I cut from canvas paper. (After they were finished and totally dry I layered them up on another tag cut from card stock to make them more sturdy) I used Distress Stains as my colouring and used a water brush to move the colour to where I wanted it.

I stamped using a variety of Archival inks as they are water proof and stayed in place as I moved the colour around.

The "read" on the boys tags, I stamped each letter onto a scrap piece of card stock and glued onto the tag individually.

Normally I would finish adding a piece of ribbon to the top of the tag, but my kids has asked me not too as they find it distort the books as they pile them up.. Their wish is my command eh lol

And that is it from me for today.
Thank you for popping by and for any comments left behind.
Don't forget to come visit me on FaceBook, Twitter, Instagram, Pinterest, Youtube or my FB page.
 Happy Crafting


Thursday, 13 September 2018

DT Marleen - Background stamps on small hearts..

Hello Beautiful People

Its once again my turn to share a bit of inspiration for
Colourific.

For todays creation I've used 3 different background stamps.
Ive used:
A6 Flower Background
A6 Tiny hearts Background
A6 Grunge BackgroundA6 Princess text

All clear stamps.

I love strecthing my supplies a bit further, using them in different ways, so for todays card I stamped each background stamp, on seperate pieces of cards, in complementry colours and used a punch to cut a load of hearts from each . I added a bit of distress ink around the edges of each heart and around my card blank before sticking the hearts down.
I drew a couple of faint pencil lines down the card to try and keep the hearts strait, and I just rubbed them out once the hearts was stuck down with foam pads.

I finished the card with my greeting and a few clear nuvo drops. I stamped the greeting using my Misty, nit a must but I find it helps me so much getting things strait as I can test it before I commit.
  And that is all for today.
Thank you for popping by and for any comments left behind.
Dont forget to come visit me on FaceBook, Twitter, Instagram, Pinterest, Youtube or my FB page.
 Happy Crafting


Love Life

Good Morning Monday again.  The weather here has been awful, rain, hail, snow, and sunshine all in the one day! Too wet and cold to go out...