Showing posts with label Christmas Trees. Show all posts

Thursday, 17 October 2019

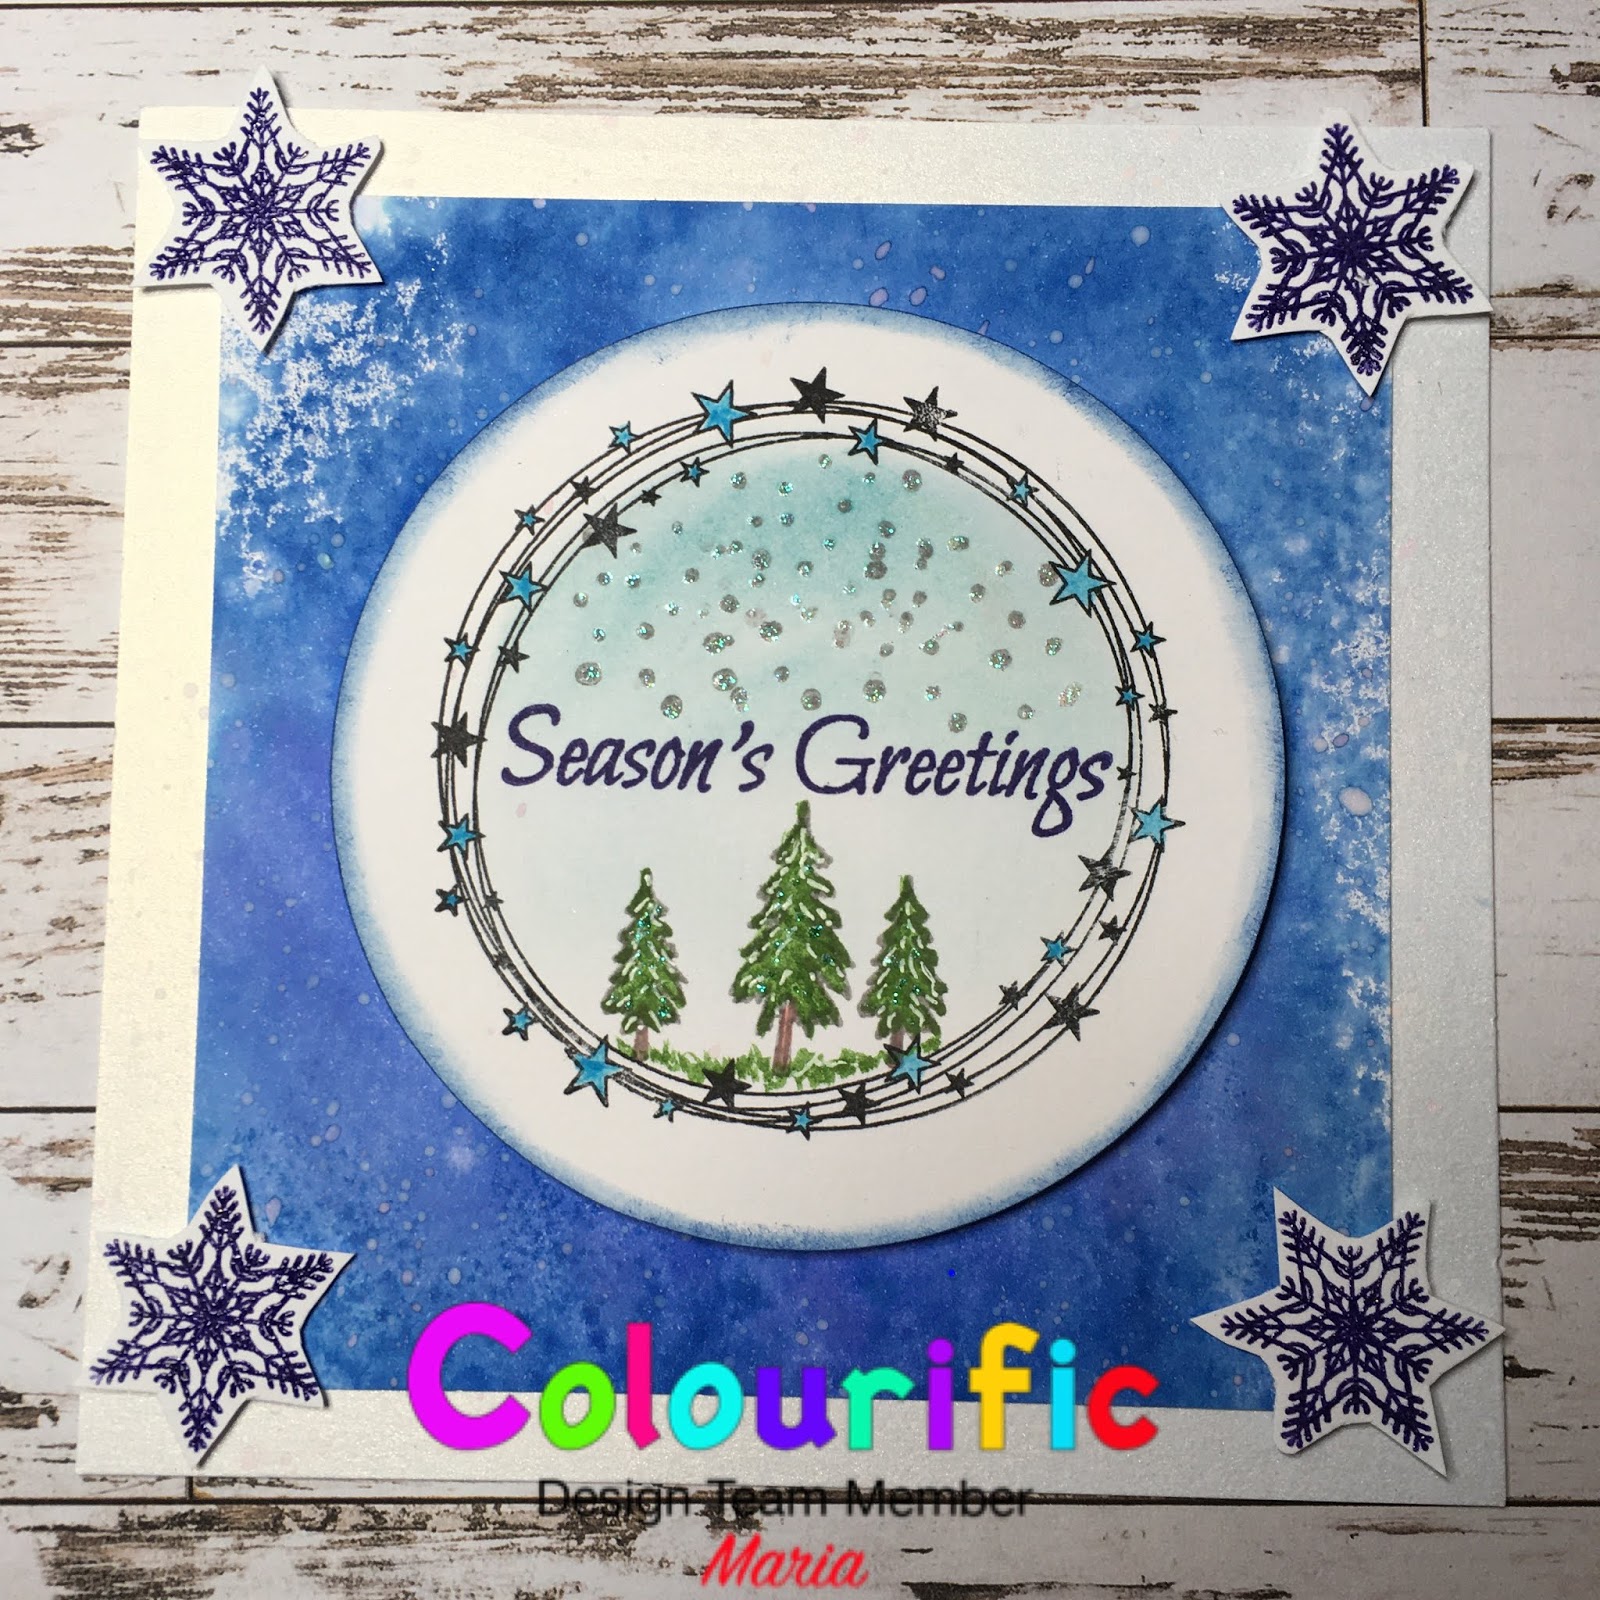
Winter Scene in a Ring

Here’s another card showing you one of the new stamp sets from Colourific.

Here’s what you will need:
A5 Rings stamp set
Winter Wonderland Stamp Set
Distress Inks - any blue - I used Salty Ocean
Watercolour paints or pencils
Clear Embossing Powder
Versafine Onyx Black
Versafine Clare blue
White and blue Gel Pens
Iridescent Glitter Glue
3D Foam pads
6x6” card base
Stamping card
Die cutter - circles or punch

Here’s how I made it;

  1. Cut a piece of 5x5” stamping card.  Stamp the Distress ink onto a blending mat and spritz with water, swish the card through the ink and dry.
  2. On a separate piece of card, stamp the stars ring in black Versafine.  Cut out a circle around this stamp - I used a die cutter or thus or you could use a punch. 
  3. Stamp two small trees, one medium tree and seasons greetings in the circle and colour with watercolour paints or pencils. Add a blue wash for the sky and draw in some grass under the trees.
  4. Stamp some of the small dots for snow and glitter the top of the dots.
  5. Stamp and emboss 4 snowflakes onto a separate piece of card and cut out.
  6. With the white gel pen, colour in some snow on the trees and with the blue gel pen colour in the stars of the ring.
  7. Mat the blue inked background onto the card base and adhere the circle to the middle of the card using 3D Foam pads.
  8. Add the snowflakes to the corners of the blue background using 3D Foam Pads.
Hope you enjoy making this card - the rings are very versatile and can be used as a frame for lots of small stamps and dies.


Saturday, 24 November 2018

Modern Christmas Tree cards - DT Member: Verity


Hello! So good to be here. It's Verity here from Pretty Little Button with another card for you today. Make sure you check out the fabulous Christmas stamps from Colourific as it isn't too late to still make some more. These clean and simple Christmas cards were the first set of cards I made with the Christmas stamp collection from Colourific and I think they are my favourite. I just love this tree!


Modern Christmas Tree cards details:


To create these cards, stamp the modern tree from the Holly Jolly Christmas stamp set in versamark ink and heat emboss in a colour of your choosing.


Next, decide and find a colour corresponding embellishment to act as the baubles for the tree.


For the kraft card, I use a selection of different sized red and gold mat sequins and adhered these down with liquid glue. The tree was then die cut with a stitched rectangle die and adhered onto a white card base. 


For this grey card, I use a selection of differently sized mat and shiny sequins. I fussy cut around the tree and adhered this down onto a grey card panel that had been spray with some shimmer spray. 


To finish the grey card off, I foam mounted a stitched rectangle frame out of matching kraft card. 


For this card, I used white nuvo drops to act as the bauble for the tree. Again this tree was fussy cut-out and foam mounted on to a navy card panel.


A sentiment from the Christmas Time Text stamp set was added to a strip of white card on the front on the card panel, and the whole panel was mounted onto a white card base.


I hope you love today's card and don't forget to check out the stamp set, link below. If you loved this card please leave a comment below as we would love to hear from you. 


Until next time!

Verity


Saturday, 10 November 2018

CAS white and gold Christmas Tree - DT Member: Verity


Hello! So good to be here. It's Verity here from Pretty Little Button with another card for you today. I'm up with another Christmas card today using a beautiful stamp from Colourific. This gorgeous tree full of stamps is so stunning that you hardly have to do anything to the card as it has done all the hard work first! 


CAS white and gold Christmas Tree card details:


Now I created this card using a digital file before the stamp set had reached us. This stamp comes from the Mr & Mrs Snow A5 stamp set. So to foil it, I just printed it off my laser printed and ran the panel through my Minc machine with some hot foil.  But of course, you can create this card with using your stamp and without a laser print. There are a variety of glue pads out there that allow you to stamp your image and then foil this. One example is the glue pad from Brutus Monroe. 


Alternatively, you can also use Bonding powder from WOW! Embossing powder; stamp with clear embossing ink and cover/heat set like regular embossing powder. Then send this through your Minc or laminator with hot foil. One other method is to buy and use sticky embossing powder. I haven't tried this myself yet, but I have heard it works just as well. For another alternative method if you have no hot foils or laminator, just emboss the tree with a selection of metallic embossing powders for the same effect. 


To assemble the card, I die cut the foiled tree with a stitched square die and matted this onto a piece of gold mirri card that was 1/4" larger. This was then foam mounted onto a white card panel 1/2 larger and lastly, the whole panel was foam mounted onto a 6" square kraft card base.


 I hope you love today's card and don't forget to check out the stamp set, link below. If you loved this card please leave a comment below as we would love to hear from you. 


Until next time!

Verity


Love Life

Good Morning Monday again.  The weather here has been awful, rain, hail, snow, and sunshine all in the one day! Too wet and cold to go out...