Showing posts with label Inked Background. Show all posts

Thursday, 17 October 2019

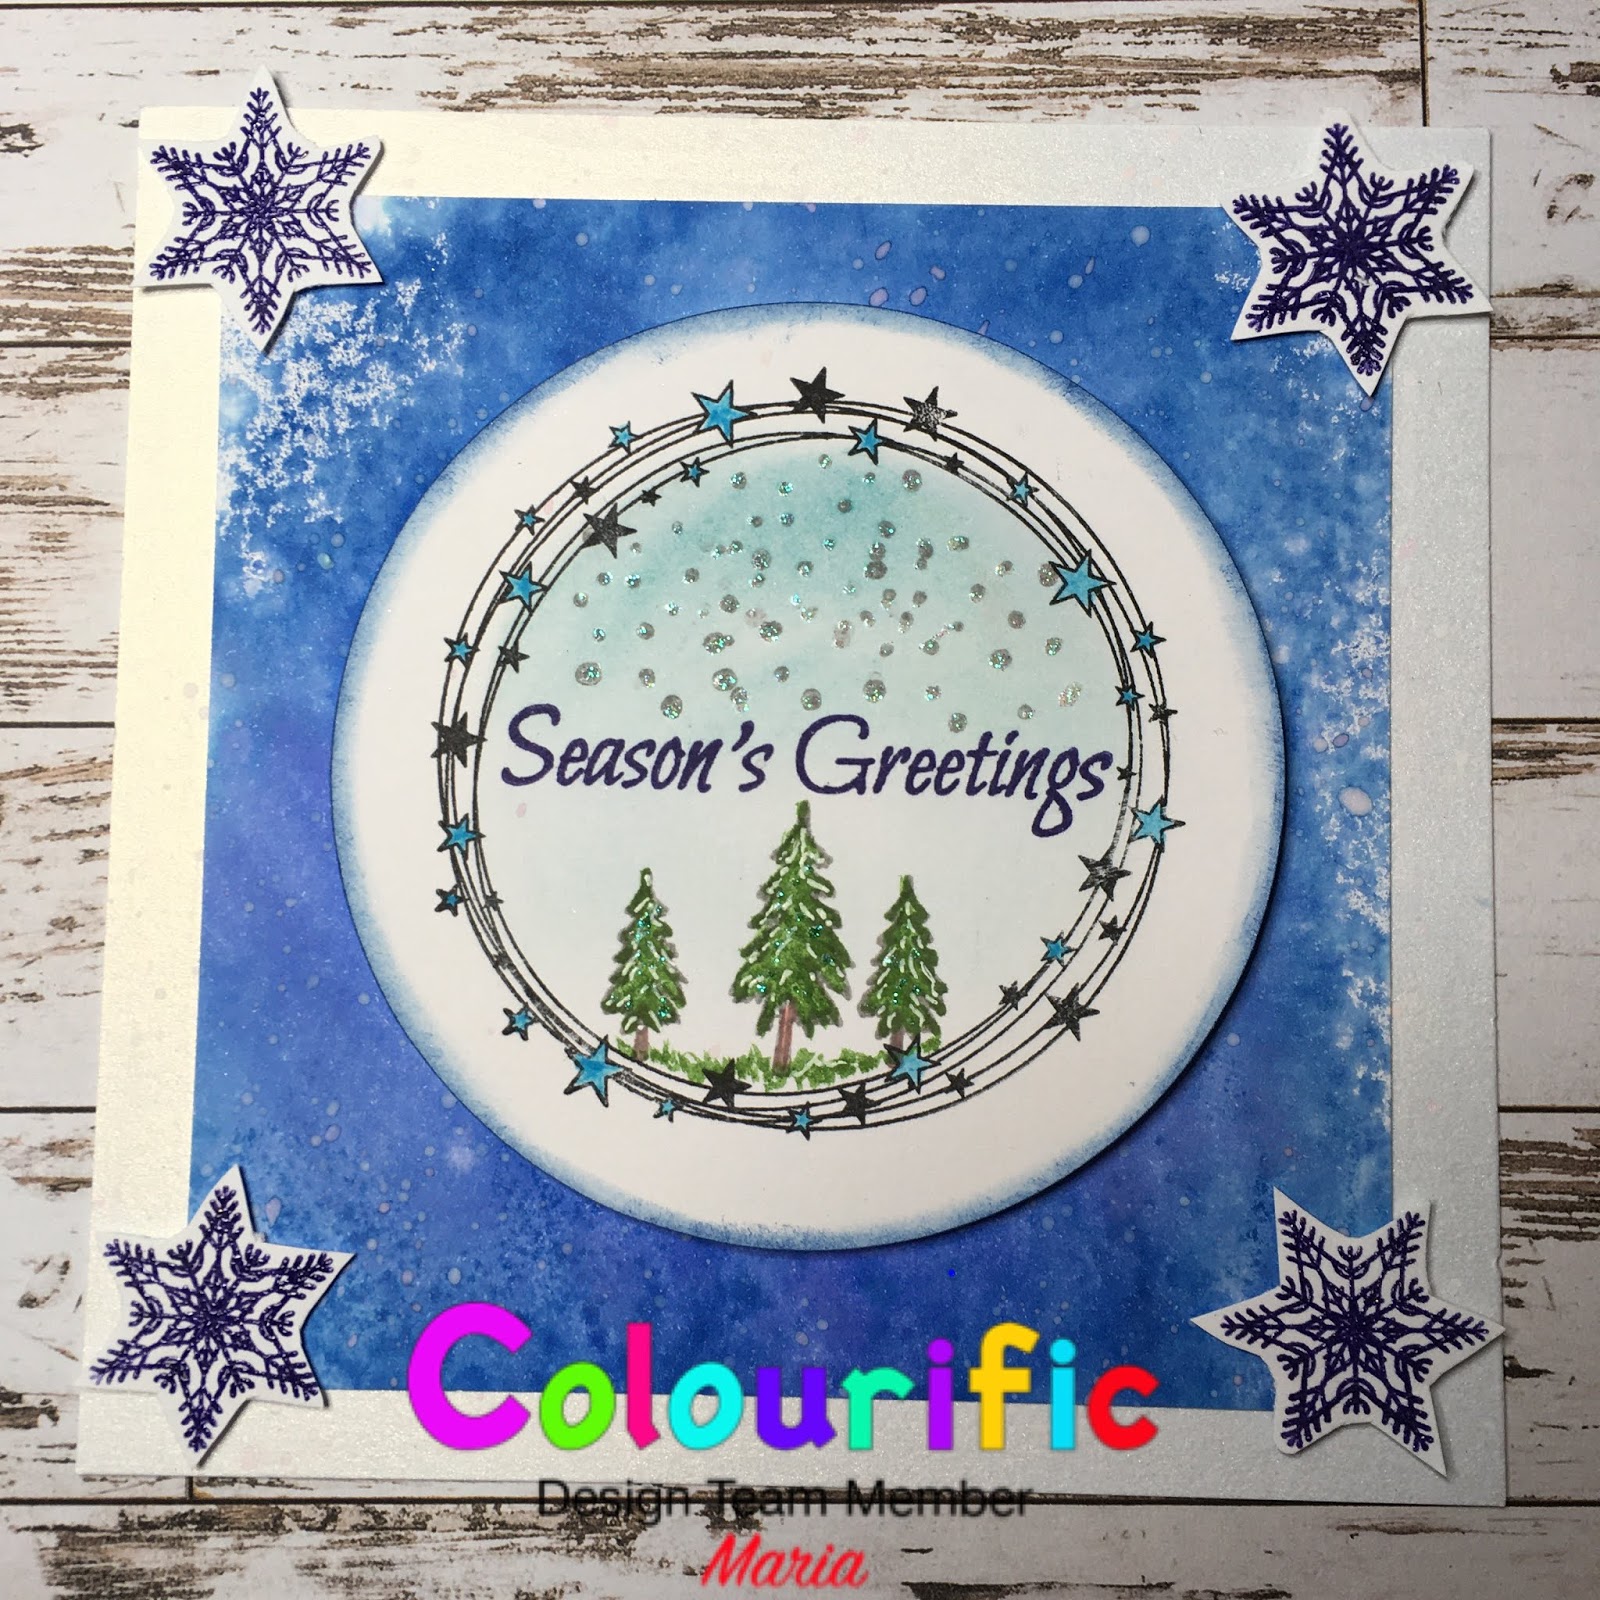
Winter Scene in a Ring

Here’s another card showing you one of the new stamp sets from Colourific.

Here’s what you will need:
A5 Rings stamp set
Winter Wonderland Stamp Set
Distress Inks - any blue - I used Salty Ocean
Watercolour paints or pencils
Clear Embossing Powder
Versafine Onyx Black
Versafine Clare blue
White and blue Gel Pens
Iridescent Glitter Glue
3D Foam pads
6x6” card base
Stamping card
Die cutter - circles or punch

Here’s how I made it;

  1. Cut a piece of 5x5” stamping card.  Stamp the Distress ink onto a blending mat and spritz with water, swish the card through the ink and dry.
  2. On a separate piece of card, stamp the stars ring in black Versafine.  Cut out a circle around this stamp - I used a die cutter or thus or you could use a punch. 
  3. Stamp two small trees, one medium tree and seasons greetings in the circle and colour with watercolour paints or pencils. Add a blue wash for the sky and draw in some grass under the trees.
  4. Stamp some of the small dots for snow and glitter the top of the dots.
  5. Stamp and emboss 4 snowflakes onto a separate piece of card and cut out.
  6. With the white gel pen, colour in some snow on the trees and with the blue gel pen colour in the stars of the ring.
  7. Mat the blue inked background onto the card base and adhere the circle to the middle of the card using 3D Foam pads.
  8. Add the snowflakes to the corners of the blue background using 3D Foam Pads.
Hope you enjoy making this card - the rings are very versatile and can be used as a frame for lots of small stamps and dies.


Monday, 20 May 2019

Bloom and Grow - A6 Blossom and Grow Stamp Set

Good Morning


Alice here, today I want to share a Card and Artist Trading Coin I made with the new A6 Blossom and Grow and A6 Seasons Text stamp sets.  The "Blossom and Grow"  is a lovely little set of stamps and is very versatile.  To find these stamps and many more on the Colourific Website click here

I had never heard of Artist Trading Coins until I saw my fellow DT members showing them.  This is a great idea for using up all the scraps.


For the card, I stamped the Seasons Text stamp onto pink card and embossed with Silver Glitter embossing powder.  I wrapped a ribbon round twice and tied it off.


I used some Inks to colour a piece of white card.  When this was completely dry, the flower was stamped to the side of the card and embossed with Silver Glitter embossing powder.  I used the more of the ink from my pallet to add deeper shades of pink on the flower and added fine splashes of pink ink onto the white space.


When it was completely dry, I attached the pink border and flower panel onto a piece of pink card then layered this onto a 6 x 6 card.  I added some pink gems to finish it off.


For the Artist Trading Coin, I cut out 2 x 2.5 inch layers of thick card and glued them together.  I had a piece of pink card that I tried to foil with the Seasons Text background.  It didn't foil properly, but I was able to cut a 2.5 inch circle from the best part and glue it onto the thicker circle and inked the edges.  I used a die to cut out a hessian piece and trimmed it down.  I stamped the "Blossom" flower onto white card and embossed with Silver Glitter embossing powder and used the remainder of my ink to colour it pink.  I finally stamped the stem with green ink and embossed with clear embossing powder.  I built up the coin using layers and raised the flower to give depth.  Finally I stamped out a sentiment from my stash and cut the words up and mounted them onto the coin.


Thank you for looking xx


Love Life

Good Morning Monday again.  The weather here has been awful, rain, hail, snow, and sunshine all in the one day! Too wet and cold to go out...