Showing posts with label watercolour paints. Show all posts

Friday, 22 November 2019

Evergreen

Hi, Maria here with my Friday post.  Today we have the Evergreen card which is made using 3 different Colourific stamp sets - Winter Wonderland, Beach Borders and A5 Rings.

Here’s what you will need-
6x6” Card Blank
5x5” White Stamping Card
5.5x5.5” Dark Green Card 
Winter Wonderland Stamp Set
Beach Border Stamps
A5 Rings Stamp Set
Black Versafine ink pad
Clear embossing powder
Tonic Nuvo Drops in Gold, Turquoise, Light Green, Dark Green, Silver
Clear sparkle Glitter Glue
Green Versafine
Watercolour paints

Here’s how I made it
  1. Using the 5.5x5.5” stamping card, stamp the Star Ring in the centre of the card using the Versafine black ink and emboss with the clear embossing powder.  Fill in the stars using green watercolour paint.
  2. Stamp a Medium Tree and two smaller trees, from the Winter Wonderland stamp set, into the middle of the Ring and colour in using the Watercolour paints.
  3. Using the green Versafine Ink, stamp and emboss the sentiment from the Winter Wonderland stamp set just under the ring.
  4. Now take the pebbles border from the border stamp set and stamp and emboss around the outside edges if the square.
  5. Using the Nuvo drops, randomly fill in the pebbles.
  6. Add some clear glitter glue to the trees and under the trees to ground them - to look like snow.
  7. Leave this to dry for a few hours to make sure all the Nuvo drops are dry.
  8. Mount onto the dark green card then adhere to the card blank.
There you go, all done, hope you like it.  Tune in next week for another card.


Friday, 15 November 2019

Celebrate Your Special Day

Hello everyone, Maria here, for today’s card I’m bringing you a card using 2 sets of Colourific Stamps. I used the Celebrate Wordage stamp set and the A5 Champagne and Cocktails Stamp Set to make  this Special Day Card, but you can be more specific and make it an Anniversary/Wedding/Engagement/Birthday Card.
Here’s what you will need:

Celebrate Wordage Stamp Set
A5 Champagne and Cocktail Stamp Set
8x8 White Card blank
White Stamping card
Black card for mounting
Watercolour paints
Versafine
Distressed Oxides, peeled paint
Gold and silver Gel pens
Clear glitter glue
Double sided tape
3D Foam Pads

Here’s hope I made it.

  1. Using the black Versafine ink pad, stamp the Celebrate, Champagne bottle and two champagne flutes onto a piece of white stamping card.
  2. Colour in the bottle and the glasses using watercolour paints and fussy cut out.
  3. Colour in the word Celebrate using the silver and gold gel pens then cut this out leaving a 4cm border around the outside.
  4. To make the background, stamp the Peeled Paint Distress Oxide Stamp Pad onto a as blending mat and spritz with water.  Swish and swirl a piece of 7”x7” White Stamping Card through the ink. Dry with a heat gun and repeat the process until you reach the desired effect.
  5. Adhere the Celebrate, Champagne bottle and glasses onto the background using 3D Foam Pads.
  6. Using the ‘your Special Day’ Stamp, Ben’s and shape it on your stamping block to make the words wave, and using the black Versafine ink, stamp onto the background card.
  7. Mount onto the black card and onto the card blank.
  8. Finally, add some sparkle by adding spots of glitter glue to the area just after the bottle top to make it look like you’ve just opened the cork and the fizz is coming out of the bottle, to the Champagne Glasses and the stars around the word Celebrate.
I hope you enjoy making the card, why not try the different colour backgrounds or use your alcohol pens to colour. The main rule is, just play and have fun.

Maria x

Thursday, 17 October 2019

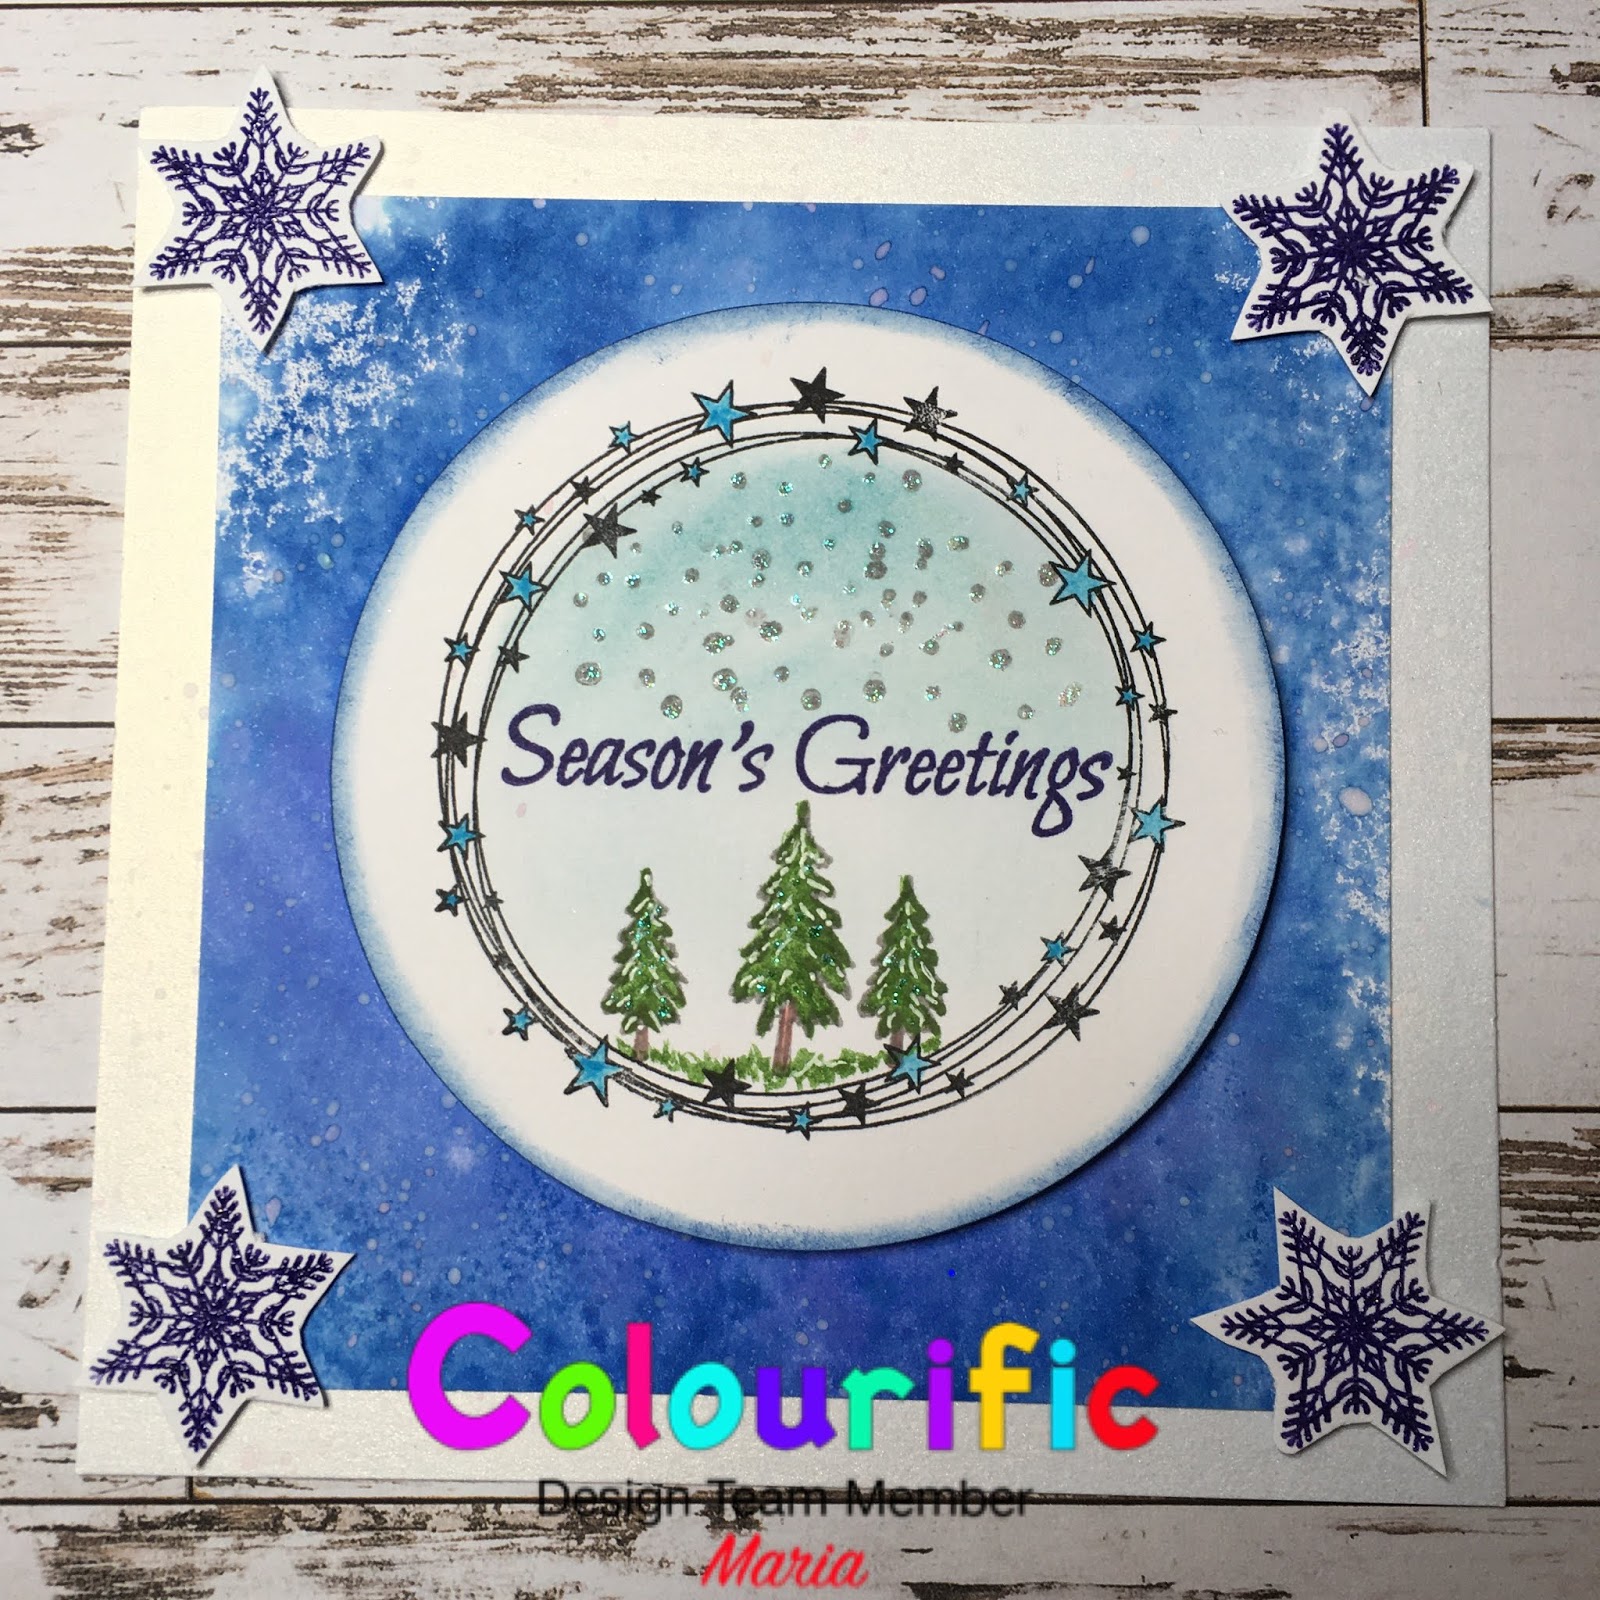
Winter Scene in a Ring

Here’s another card showing you one of the new stamp sets from Colourific.

Here’s what you will need:
A5 Rings stamp set
Winter Wonderland Stamp Set
Distress Inks - any blue - I used Salty Ocean
Watercolour paints or pencils
Clear Embossing Powder
Versafine Onyx Black
Versafine Clare blue
White and blue Gel Pens
Iridescent Glitter Glue
3D Foam pads
6x6” card base
Stamping card
Die cutter - circles or punch

Here’s how I made it;

  1. Cut a piece of 5x5” stamping card.  Stamp the Distress ink onto a blending mat and spritz with water, swish the card through the ink and dry.
  2. On a separate piece of card, stamp the stars ring in black Versafine.  Cut out a circle around this stamp - I used a die cutter or thus or you could use a punch. 
  3. Stamp two small trees, one medium tree and seasons greetings in the circle and colour with watercolour paints or pencils. Add a blue wash for the sky and draw in some grass under the trees.
  4. Stamp some of the small dots for snow and glitter the top of the dots.
  5. Stamp and emboss 4 snowflakes onto a separate piece of card and cut out.
  6. With the white gel pen, colour in some snow on the trees and with the blue gel pen colour in the stars of the ring.
  7. Mat the blue inked background onto the card base and adhere the circle to the middle of the card using 3D Foam pads.
  8. Add the snowflakes to the corners of the blue background using 3D Foam Pads.
Hope you enjoy making this card - the rings are very versatile and can be used as a frame for lots of small stamps and dies.


Tuesday, 15 October 2019

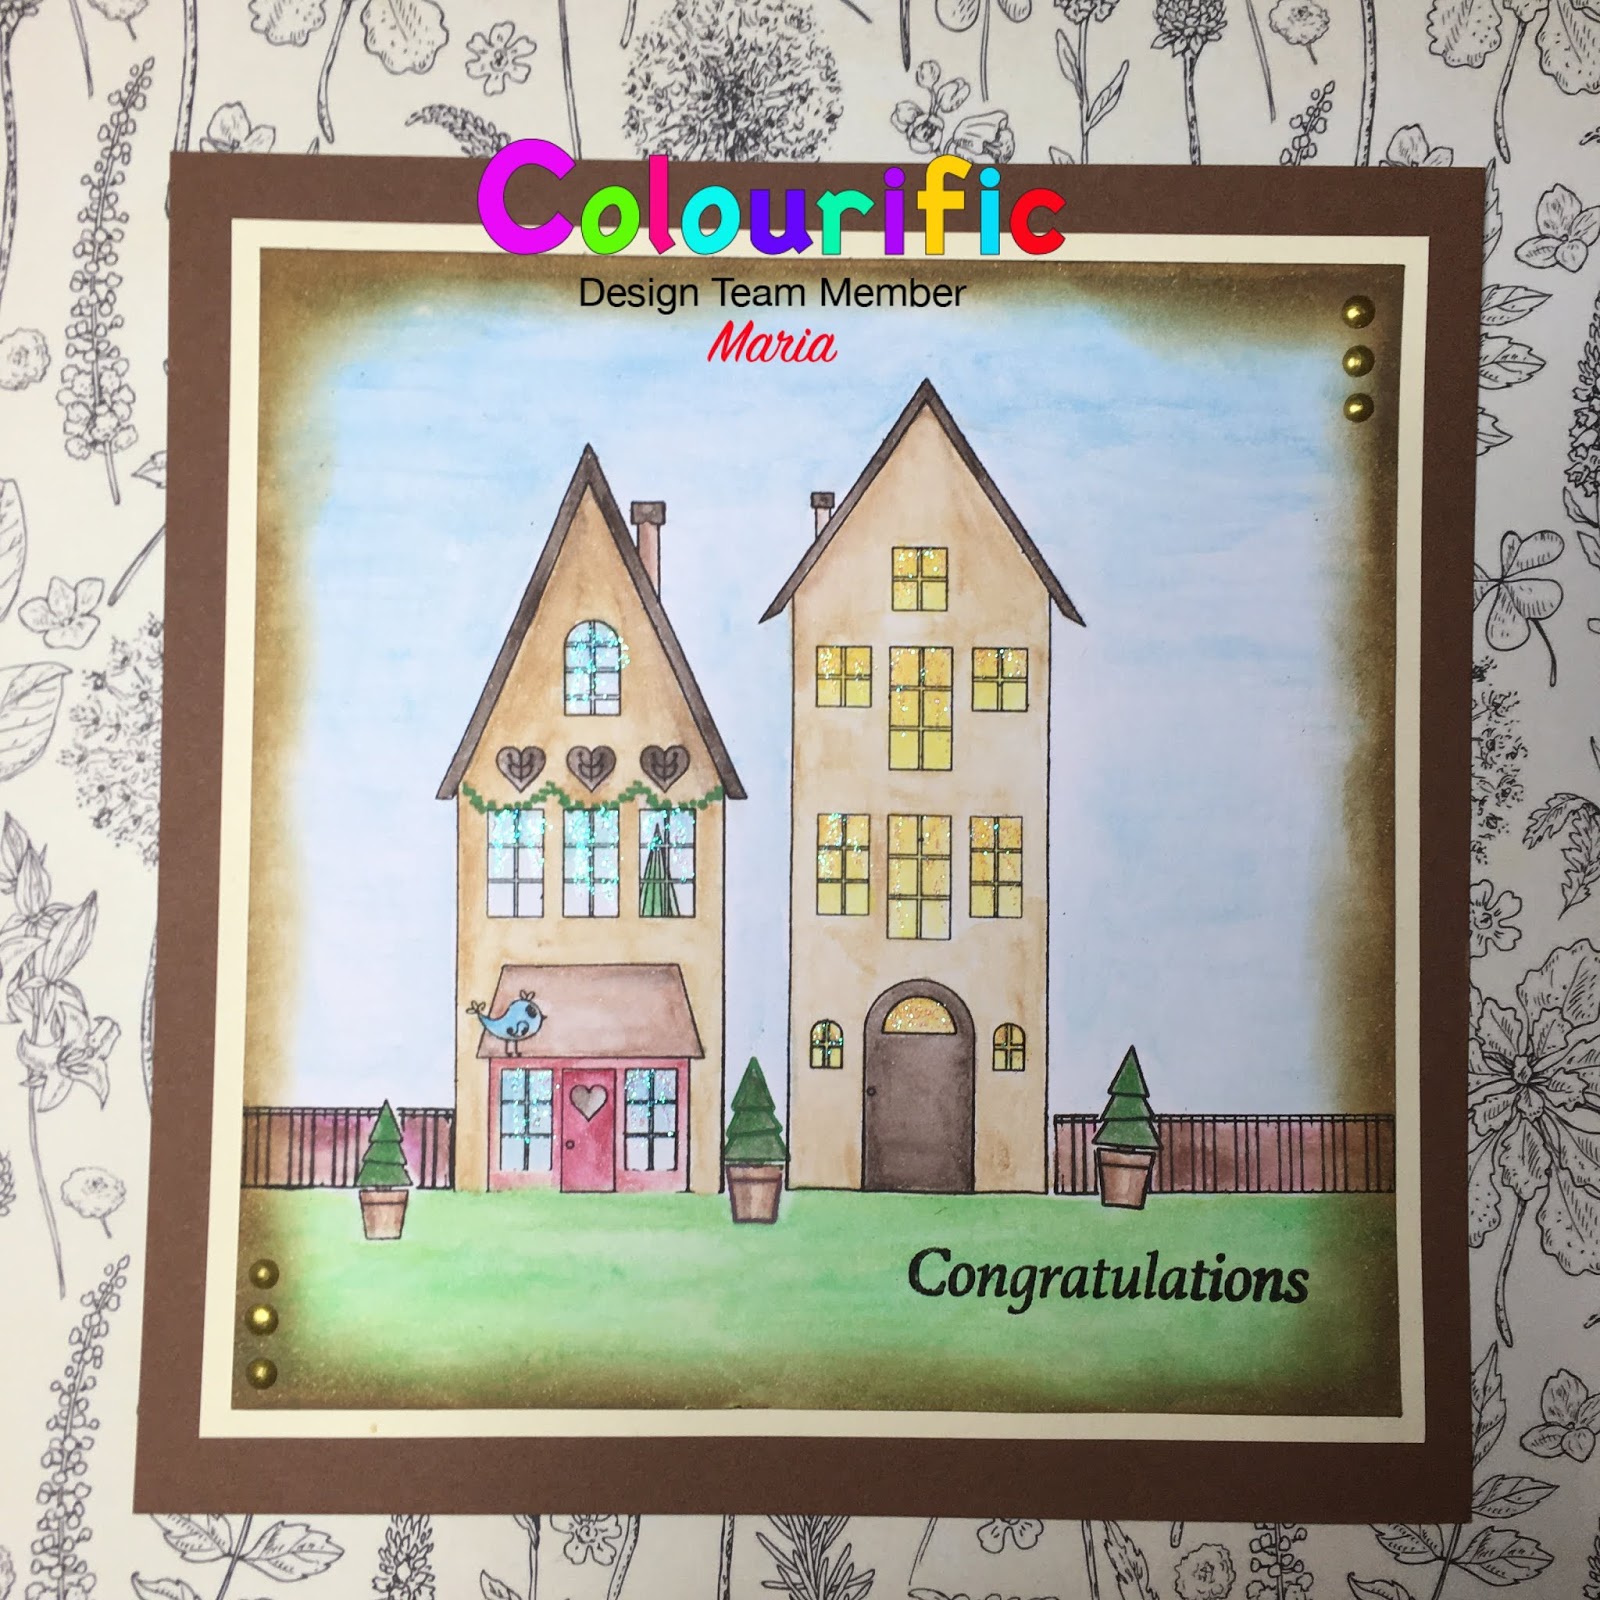
CONGRATULATIONS ON YOUR NEW HOME

Here’s another of my cards from the new launch of stamps from Colourific . This time I’ve used the A5 Houses stamps. These lovely stamps come in a pack with lots of accessory stamps to decorate your homes and gardens.
Here’s whst you will need:

A5 Houses stamp set
White Stamping Card
Cream Card for mounting
Base card - I used a Brown 6” square card
Versafine Onyx Black
Watercolour paints
Distress Ink, Brushed Corduroy
Iridescent Glitter Glue
Gold Nuvo Drops

Here’s how I made it.


  1. Stamp the two houses into a piece of 5x5” stamping card using Versafine.
  2. Stamp the fence at either side of the Houses, then add the fir trees in the garden.
  3. Stamp one of the houses with the garland swag.
  4. Using a really fine paintbrush, paint the houses, fence and fir trees in watercolour.
  5. Using a wider brush, paint the sky and grass.
  6. Blend the Distress ink around the edges.
  7. Stamp Congratulations in Black Versafine onto the grass bottom right.
  8. Mount onto the Cream Card (5.5x5.5”), then onto the card blank.
  9. Finish off by adding a touch of glitter glue to the windows and add 3 Gold Nuvo Drops to the top right and bottom left corners.  Let this dry.


That’s your card completed.

See you next time.

Love Life

Good Morning Monday again.  The weather here has been awful, rain, hail, snow, and sunshine all in the one day! Too wet and cold to go out...