Showing posts with label Iridescent glitter glue. Show all posts

Friday, 18 October 2019

Rings and Borders

Happy Friday everyone, what a busy week! I hope you have enjoyed looking at all the cards in the new launch from Colourific.  In today’s card I have used stamps from the Beach Border and the A5 Rings stamp sets.


Here is what you will need:

Dark red square card base
Dark red card
White Stamping Card
A5 Rings Stamp Set
Beach Borders Stamp Set
Versamark
Gold Detail Embossing Powder
Gold Nuvo Drops
Onyx Black Versafine
Clear Embossing Powder
3D Foam Pads
Watercolour Pencils
Squeezed Lemonade Distress Ink
Iridescent Glitter Glue

Here’s how to make the card:

  1. Firstly, stamp the star ring using Black Versafine and Clear Embossing Powder.
  2. Stamp and emboss the candle from the Rings set using the same ink and powder.
  3. Colour the candle and the stars using watercolour pencils.  When dry, lightly blend a little of the Squeezed Lemonade ink over the area where the flame is to give it a yellow glow.
  4. I then decorated the mat layers with the zigzag and dots border around the four sides of the dark red smaller square and the larger white square, crossing the lines at the corner.  For the borders I stamped with Versamark and Gold Detail Embossing Powder.
  5. On a separate piece of card, I stamped 4 baubles in Versamark and gold embossed them.  I coloured these in with watercolour pencils.
  6. Cut out the ring leaving a 4 mm border and fussy cut the four baubles.
  7. Mount the ring in the middle of the red square using 3D foam pads.
  8. Mount the red square onto the white square and the white square into the red card base using glue or double sided tape.
  9. Finally fix the 4 baubles on the four corners of the white square using 3D Foam pads, add a gold Nuvo drop to the corners of the red square and add a touch of glitter glue to the baubles and candle flame.
Watch out for tomorrow’s card!
Maria x


    Tuesday, 15 October 2019

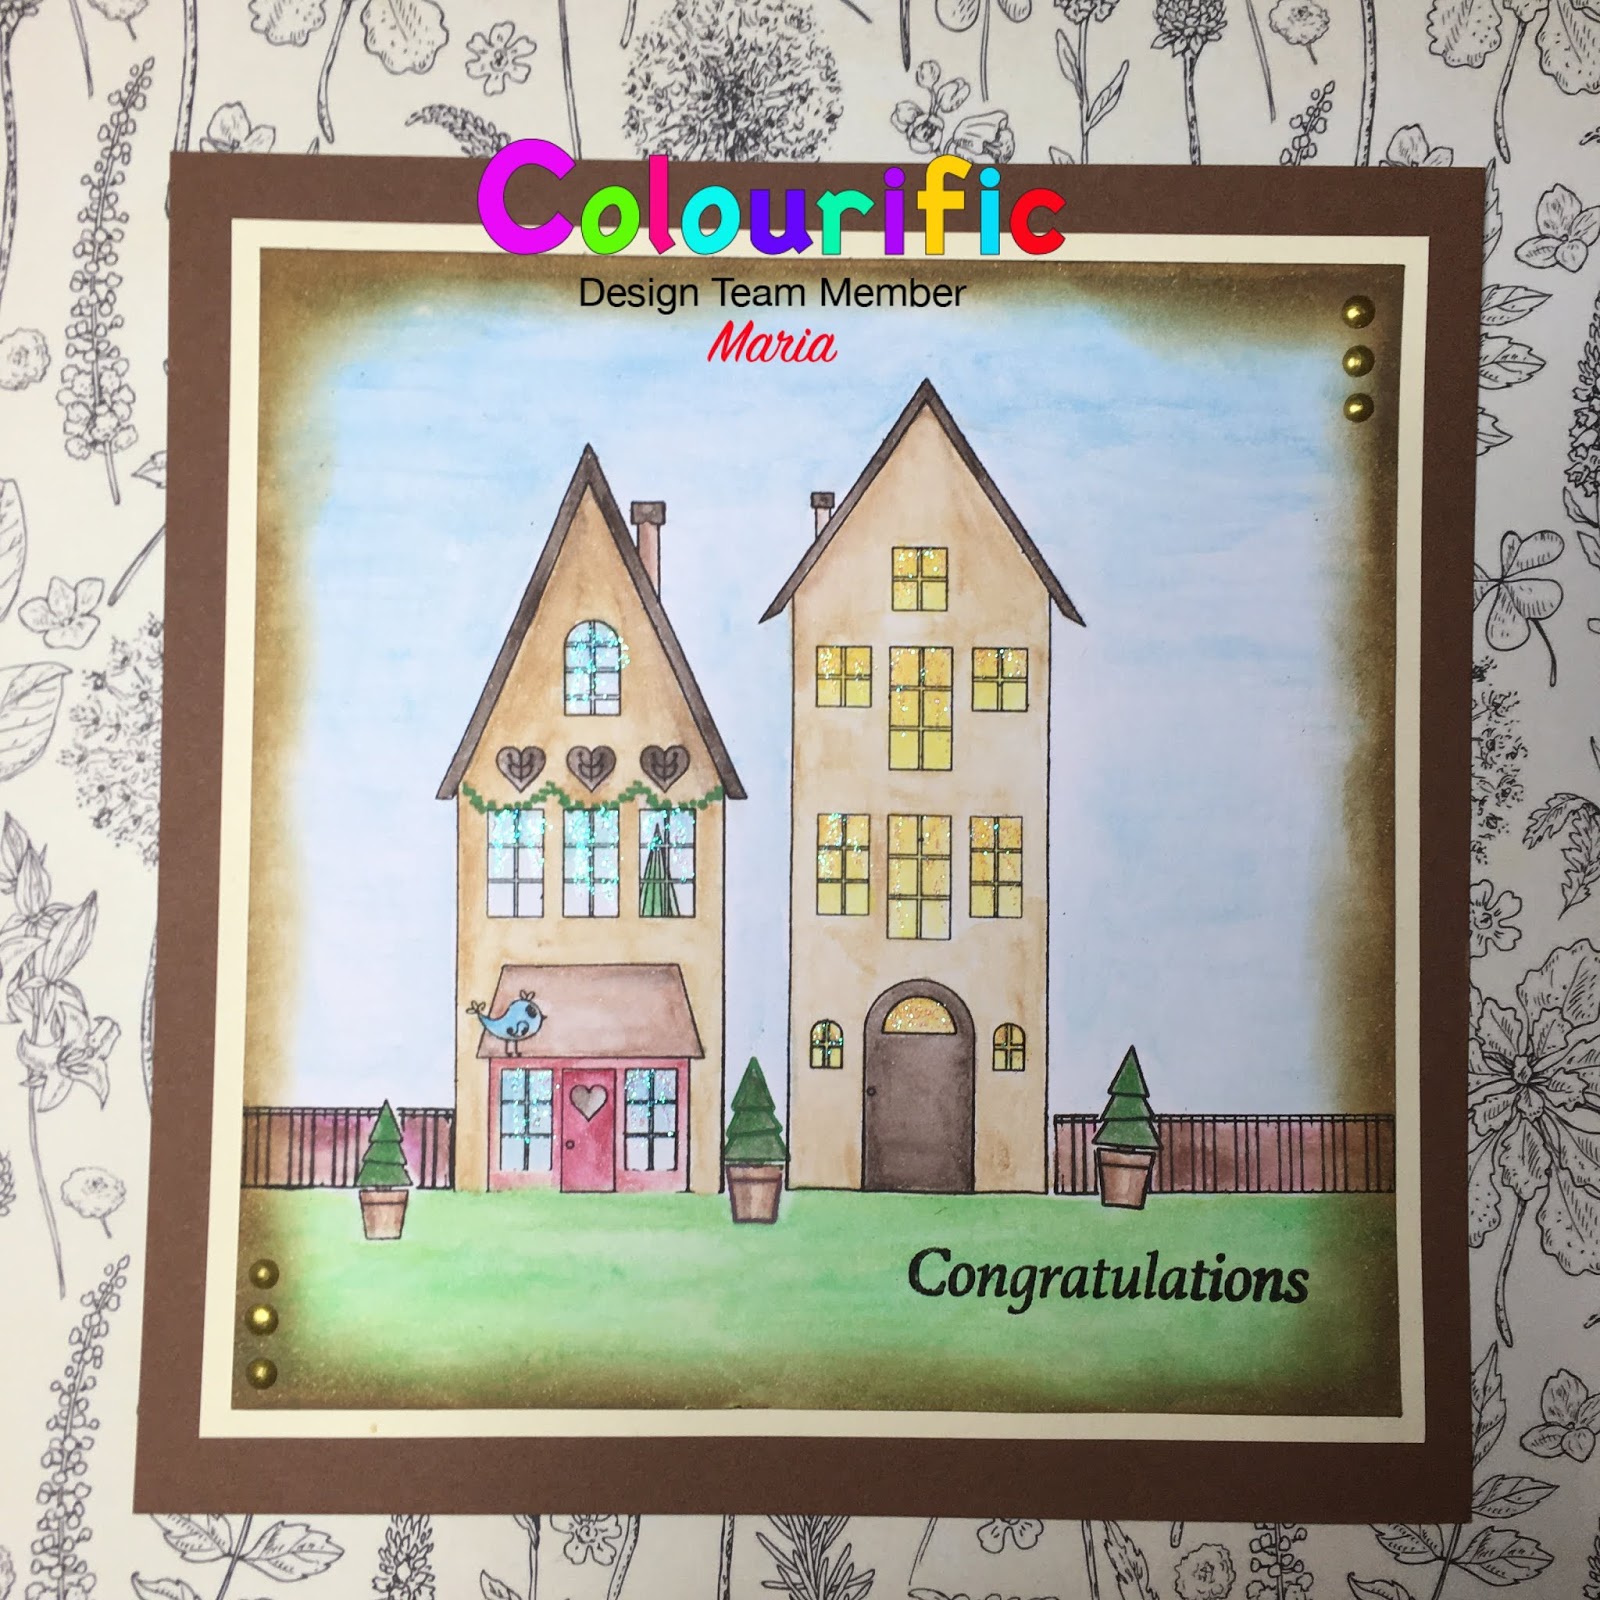
    CONGRATULATIONS ON YOUR NEW HOME

    Here’s another of my cards from the new launch of stamps from Colourific . This time I’ve used the A5 Houses stamps. These lovely stamps come in a pack with lots of accessory stamps to decorate your homes and gardens.
    Here’s whst you will need:

    A5 Houses stamp set
    White Stamping Card
    Cream Card for mounting
    Base card - I used a Brown 6” square card
    Versafine Onyx Black
    Watercolour paints
    Distress Ink, Brushed Corduroy
    Iridescent Glitter Glue
    Gold Nuvo Drops

    Here’s how I made it.


    1. Stamp the two houses into a piece of 5x5” stamping card using Versafine.
    2. Stamp the fence at either side of the Houses, then add the fir trees in the garden.
    3. Stamp one of the houses with the garland swag.
    4. Using a really fine paintbrush, paint the houses, fence and fir trees in watercolour.
    5. Using a wider brush, paint the sky and grass.
    6. Blend the Distress ink around the edges.
    7. Stamp Congratulations in Black Versafine onto the grass bottom right.
    8. Mount onto the Cream Card (5.5x5.5”), then onto the card blank.
    9. Finish off by adding a touch of glitter glue to the windows and add 3 Gold Nuvo Drops to the top right and bottom left corners.  Let this dry.


    That’s your card completed.

    See you next time.

    Love Life

    Good Morning Monday again.  The weather here has been awful, rain, hail, snow, and sunshine all in the one day! Too wet and cold to go out...